⚡ Same-Day Shipping · 500+ Happy Families
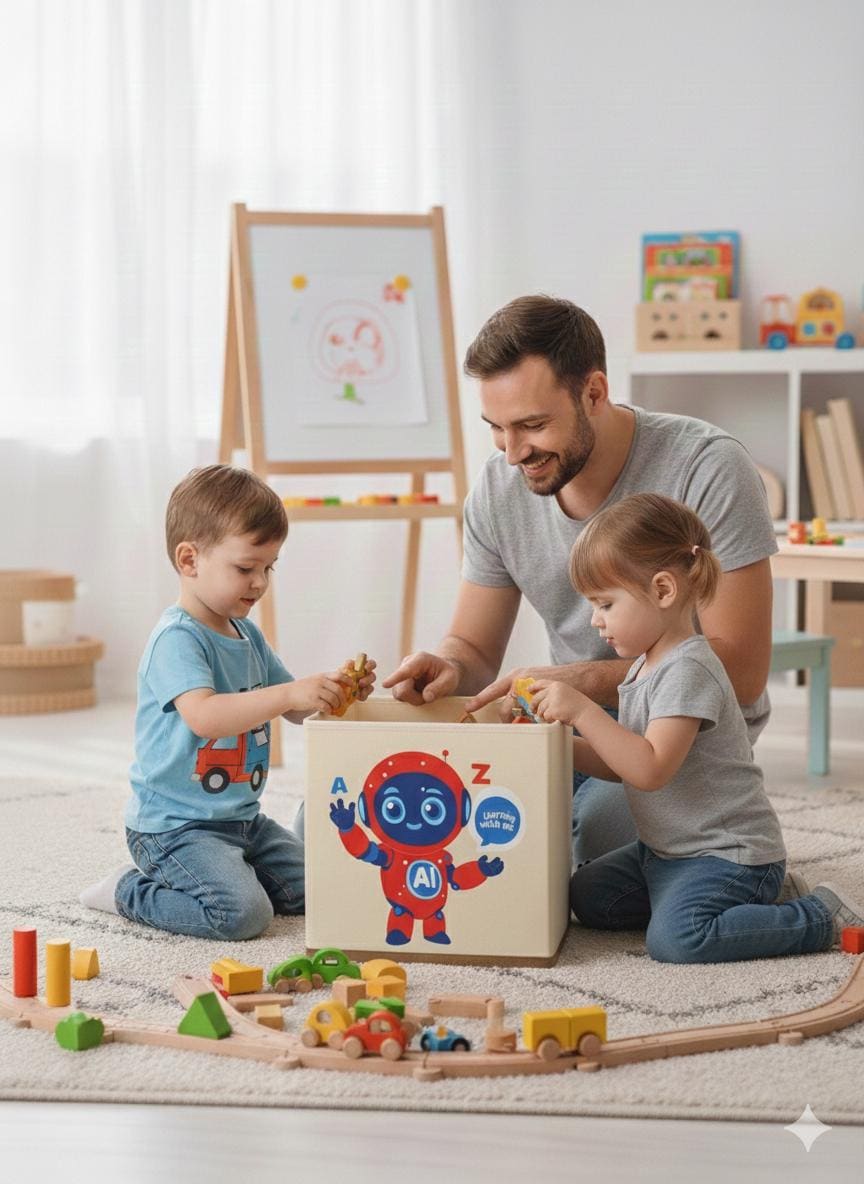
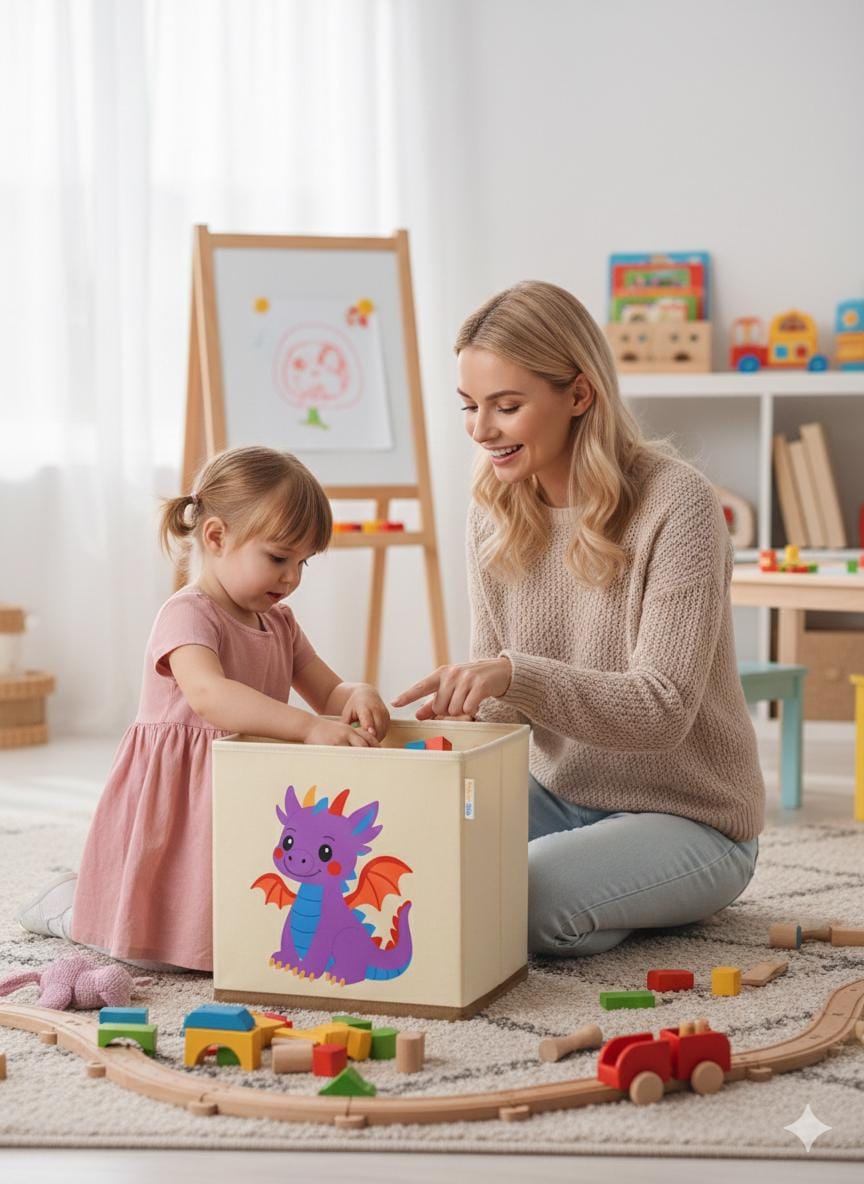
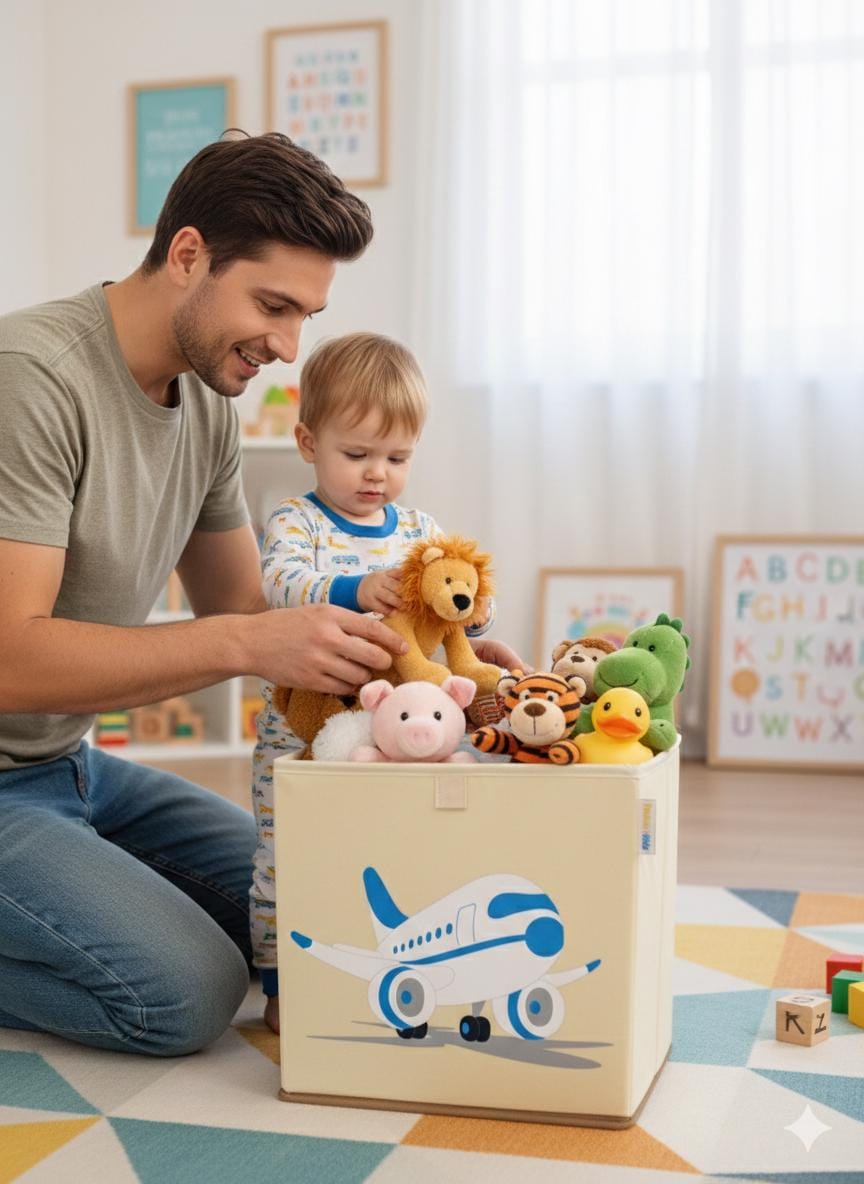
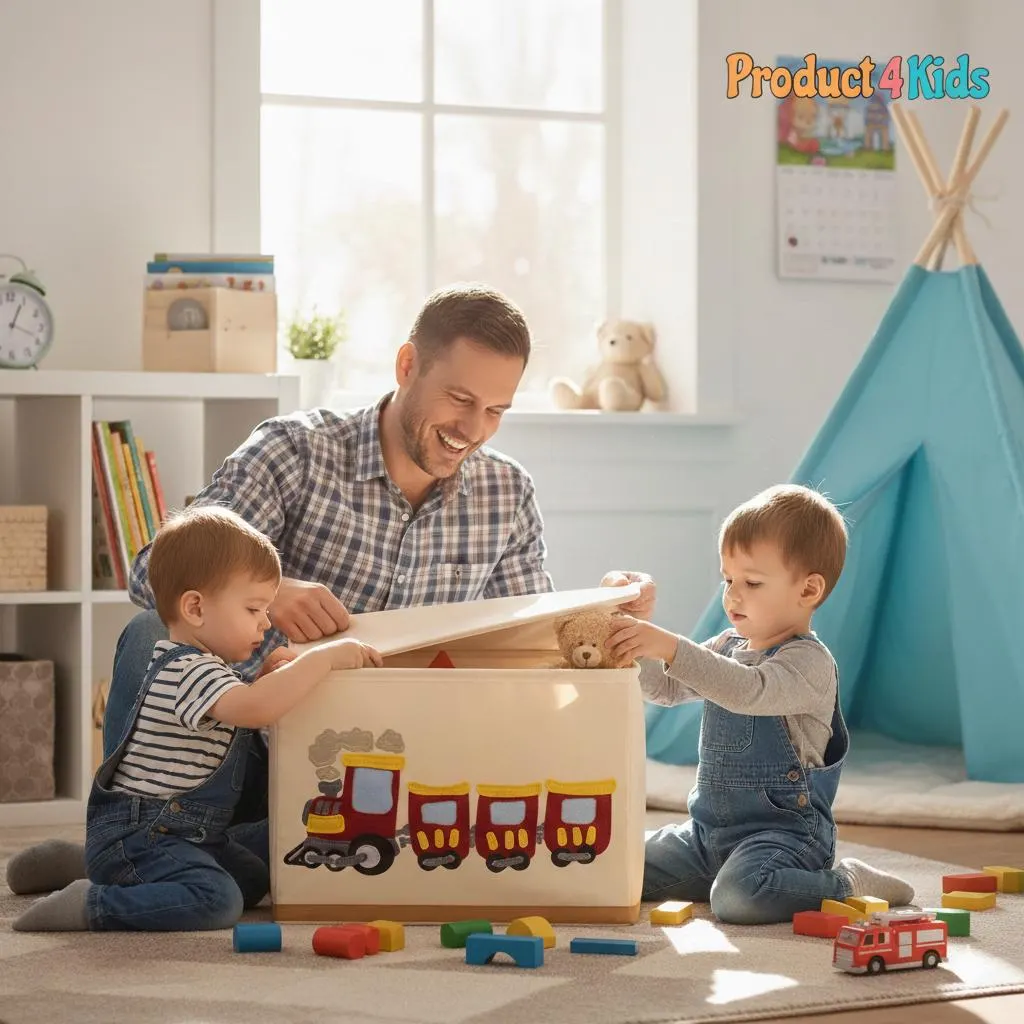
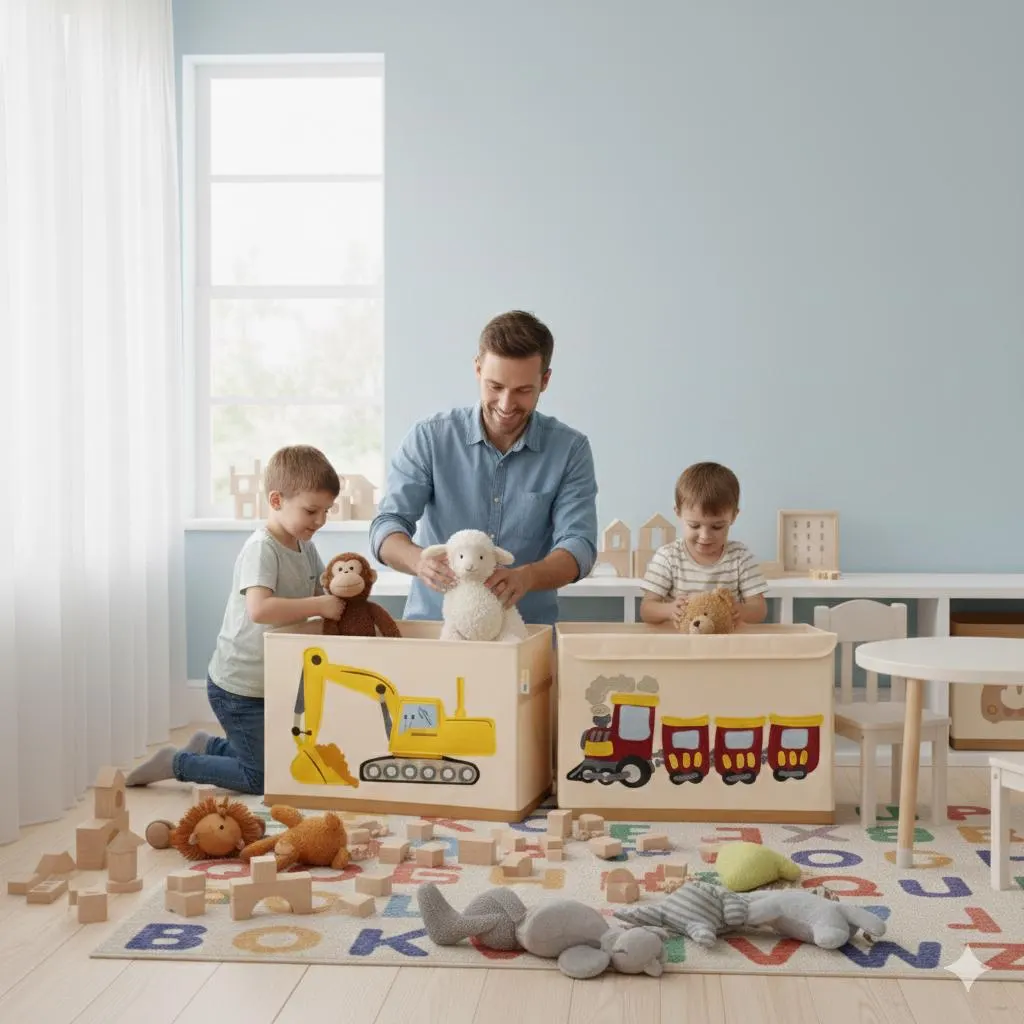
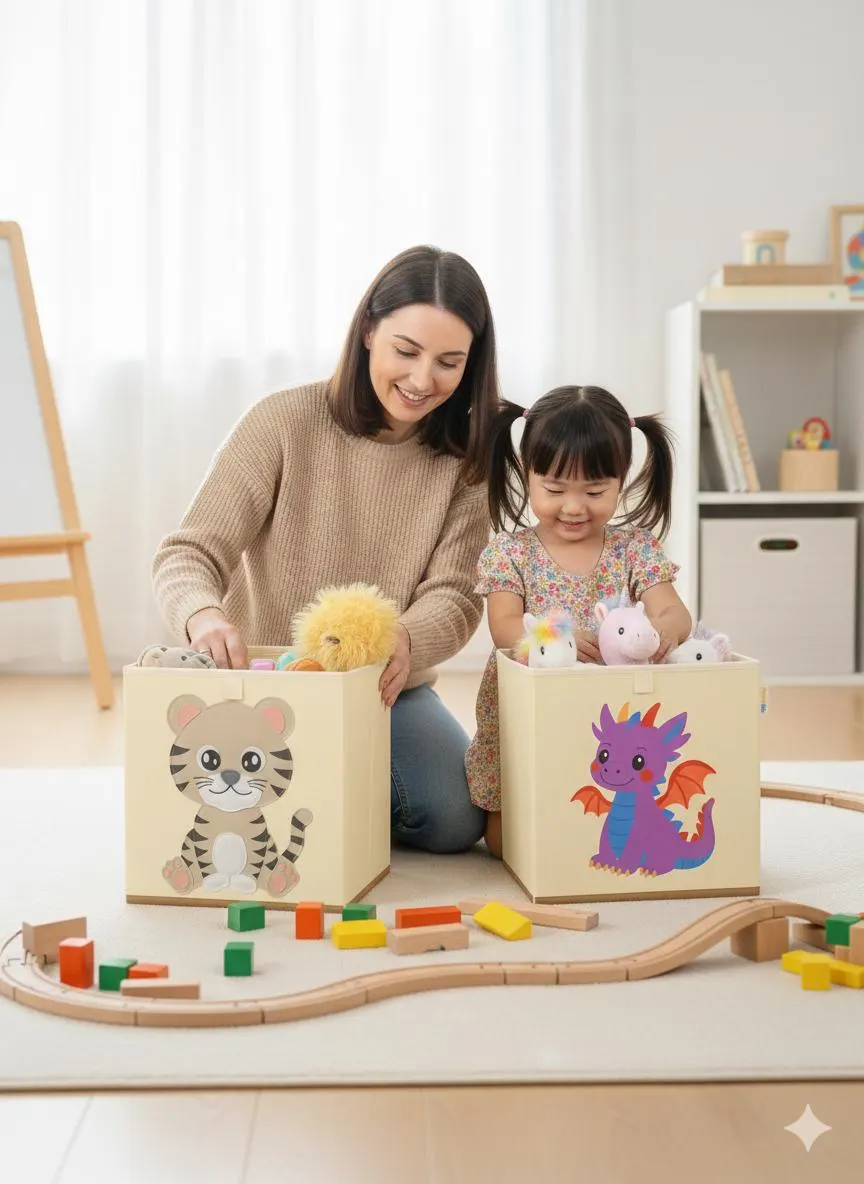
The World'sCutest Toy Binsfor Little Heroes 🧸
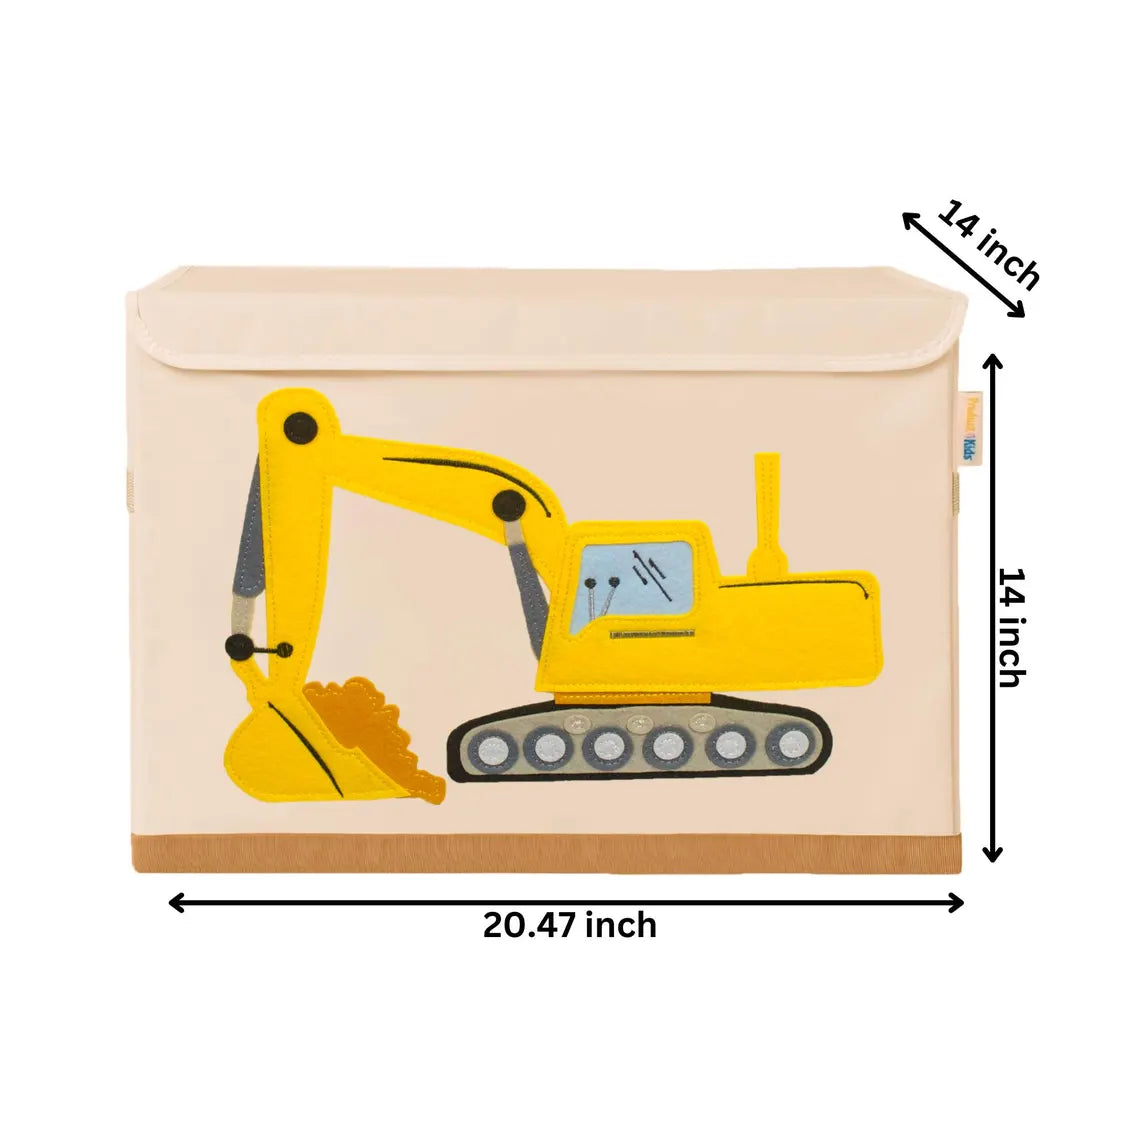
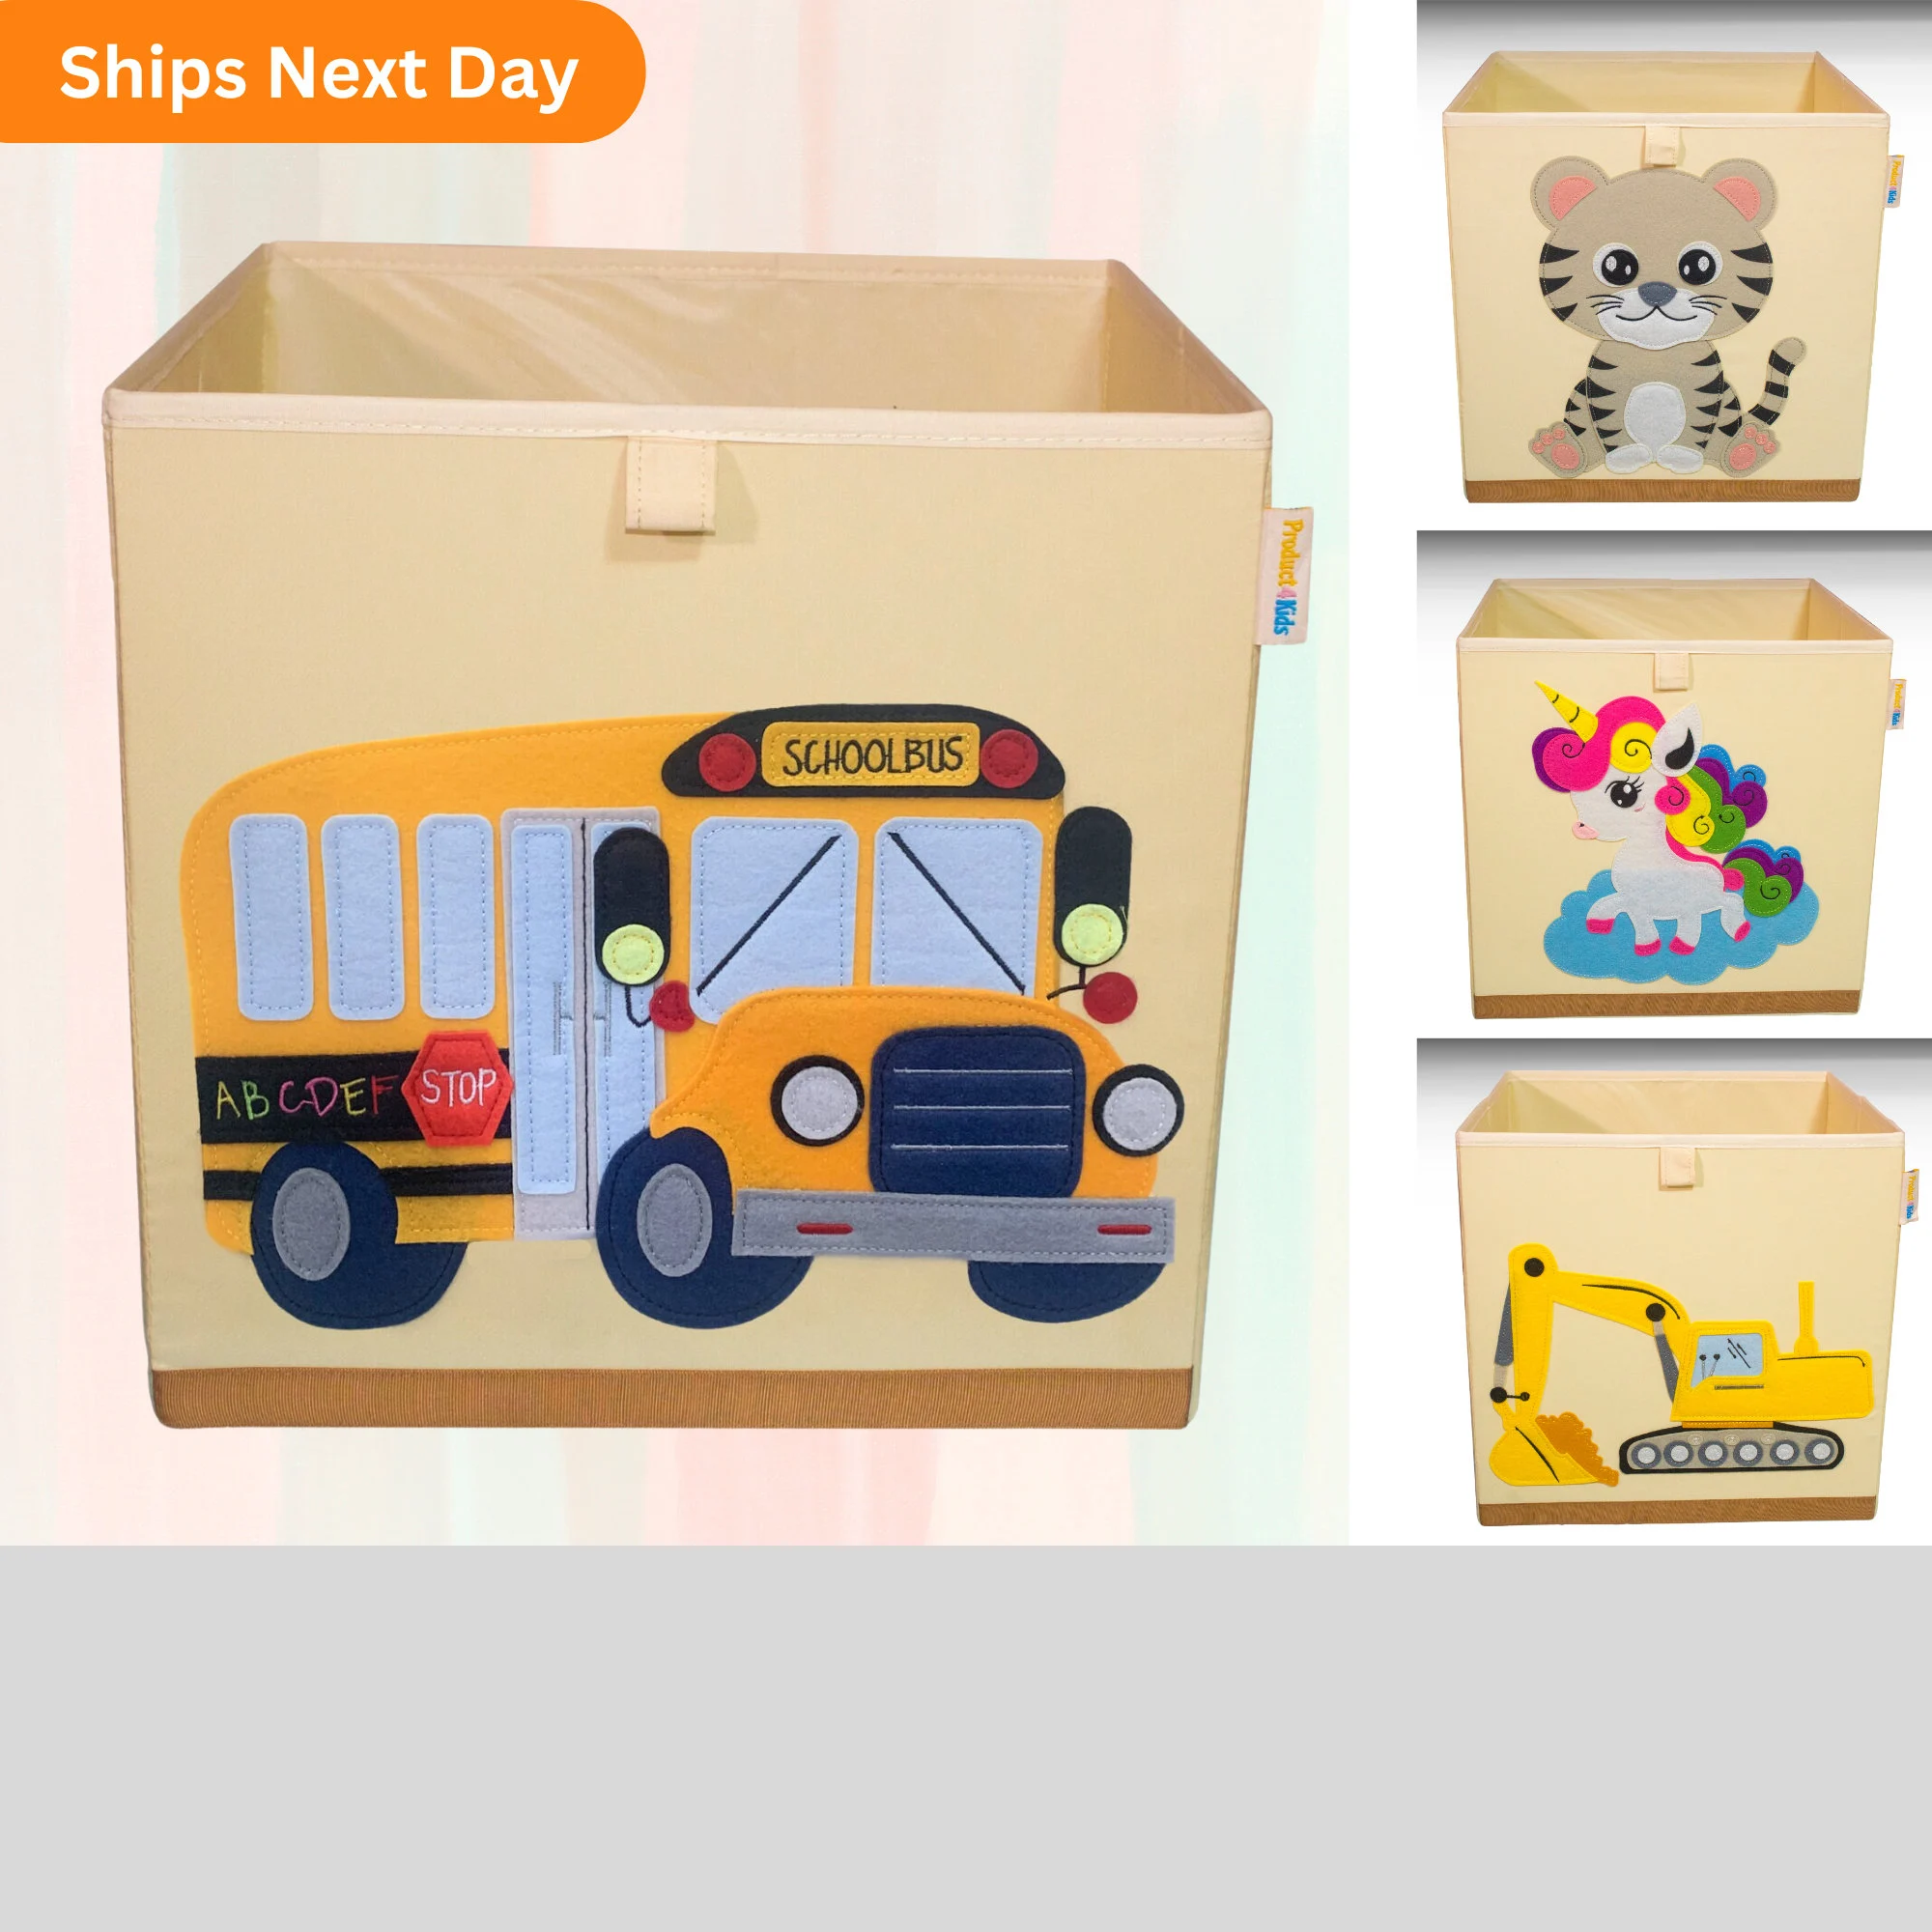
Hand-embroidered washable storage bins in 20+ magical designs — Dragons, AI Robots, Unicorns, Trains & more! Fits any cube shelf.
⭐ 5-Star Rated
⚡ Same-Day Ship
💧 Washable
📦 Fits Cube Shelves
🔄 Easy Returns